Crochet Striped Baby Slippers: The Cutest Beginner Pattern You’ll Ever Make
The tutorial video is at the bottom of the article.👇
There’s something quietly magical about making a pair of shoes a baby will never actually walk in. Crochet striped baby slippers aren’t just a project — they’re a small act of love, stitched one row at a time. If you’ve been hesitant to pick up a hook because crochet feels overwhelming, this pattern will change your mind. It’s simple, forgiving, and finished before you know it. Whether you’re crocheting for your own little one or preparing a gift for a friend’s baby shower, this project turns a few balls of yarn into something that will be treasured long after tiny feet outgrow it.
Why This Pattern Works So Well for Beginners
You don’t need years of experience to make something this charming. The entire pattern relies on just two stitches: single crochet and slip stitch. That means you can focus on enjoying the process instead of untangling complicated instructions or chasing confusing stitch counts. It’s also quick — most beginners finish a pair in an afternoon, which makes it perfect for a baby shower gift, a nursery decoration, or a last-minute “I need something handmade” moment.
Baby items like these slippers are also a favorite starting point in the crochet community precisely because they’re small. A tiny project means fewer stitches to track, less yarn invested if something goes wrong, and a faster sense of accomplishment — all things that make learning to crochet feel encouraging rather than frustrating.
What You’ll Need
Before you start, gather soft, baby-safe yarn in two colors (cotton or a cotton blend works beautifully), a 3.5–4mm hook, a yarn needle, and scissors. Stitch markers are optional, but they help you keep track of your rounds as a beginner, especially since baby slipper patterns are worked in continuous rounds rather than back-and-forth rows.
When choosing yarn, comfort and safety come first. Look for machine-washable, breathable fibers, since baby items get washed often and need to hold up over time. Avoid anything with loose beads, sequins, or decorative trims that could pose a choking hazard. A simple, well-spun cotton or cotton-acrylic blend in two coordinating colors is really all you need to get that classic striped look.
Making the Slippers, Step by Step
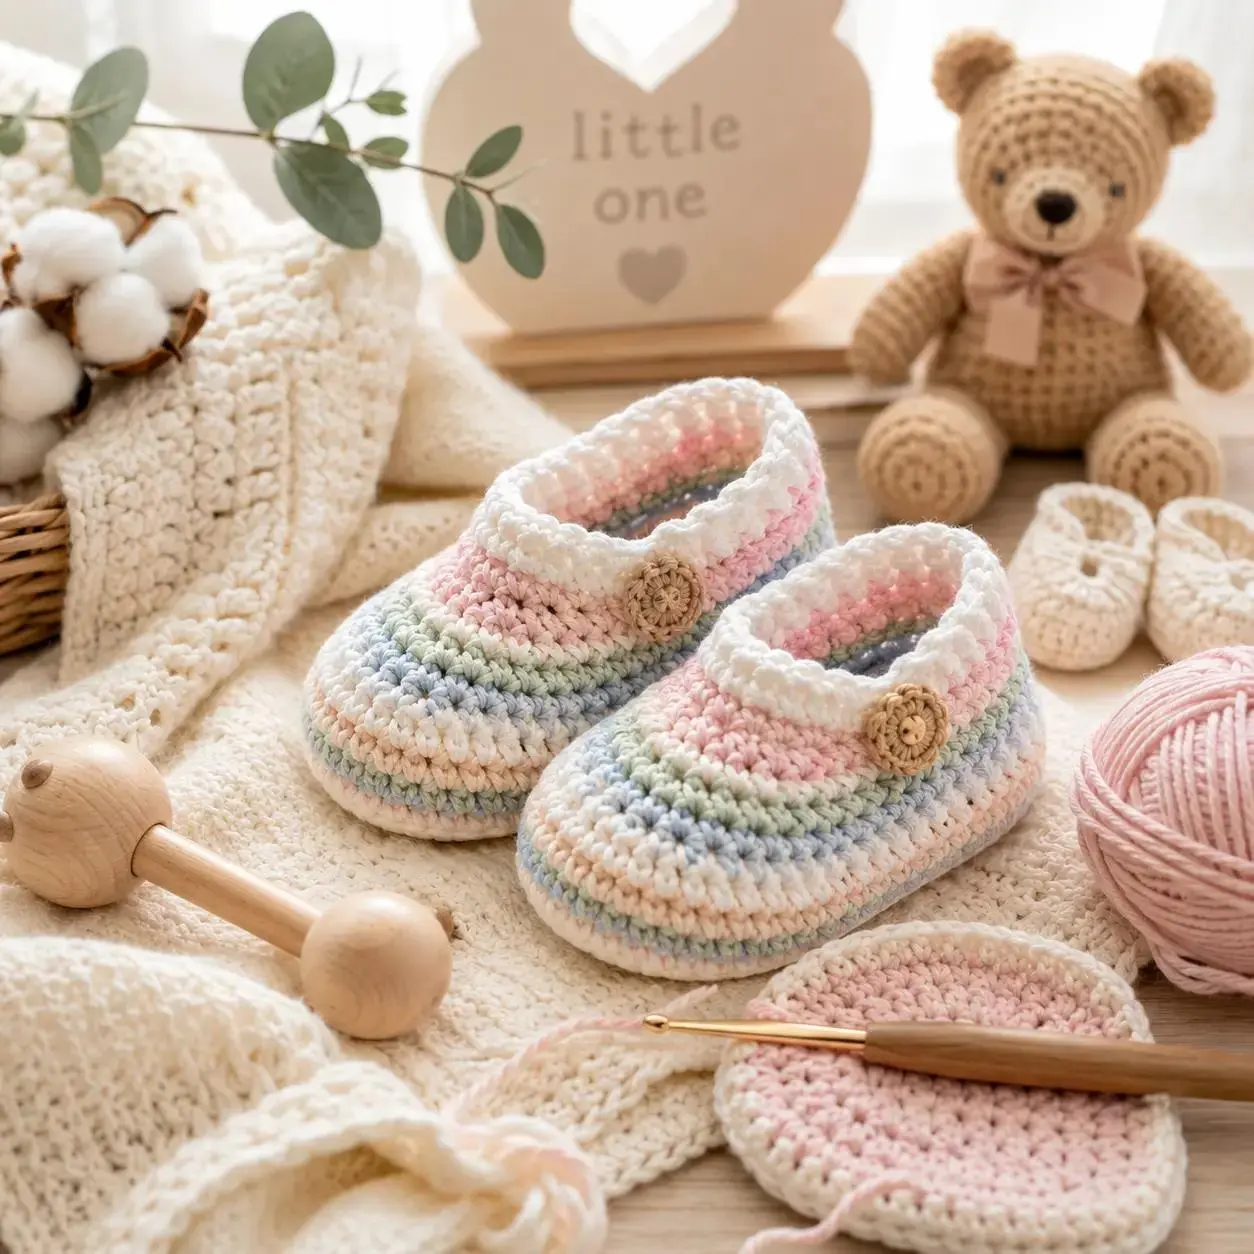
Start with the sole, working in rounds and increasing evenly to create a soft oval shape that will cradle tiny feet comfortably. This is the foundation of the whole slipper, so take your time here — an evenly shaped sole makes everything that follows easier.
Once your sole is complete, switch colors every one to two rounds to build the signature striped body. Instead of cutting your yarn each time you change colors, try carrying the unused strand along the inside of your work. This small trick saves yarn, cuts down on the number of ends you’ll need to weave in later, and keeps the inside of the slipper tidy and comfortable against baby’s skin.
As you approach the toe, decrease your stitches gradually for a rounded, natural shape that mimics the curve of a tiny foot. Then close everything off with a slip stitch and weave in your ends securely, since baby items get handled — and occasionally tugged on — a lot.
If you want to add a little extra charm, a simple chain strap with a button closure keeps the slippers snug on active little feet, while a tiny crocheted bow or flower adds a sweet finishing touch. Both are optional, but they turn a basic slipper into something that feels genuinely special.
Getting the Sizing Right
Because every baby is different, it helps to have a general guide rather than guessing. For newborns up to three months, aim for a foot length around 3.5 inches, which usually starts with about 8 chains. Between three and six months, slippers typically need to be closer to 4 inches, starting around 10 chains. By six to twelve months, most babies need around 4.5 inches of room, which usually means starting with about 12 chains.
Of course, foot size varies from baby to baby, so if you can measure the intended wearer’s foot ahead of time, that’s always the most reliable option. Otherwise, these ranges give you a solid starting point to adjust from.
A Few Tips for Perfect Stitches Every Time
Keep your tension even throughout your work — pulling too tight can make the fabric stiff and less comfortable against baby’s delicate skin, while stitches that are too loose can make the slipper lose its shape. Count your stitches at the end of each round so you catch any mistakes early, before they compound into a lopsided slipper. Finally, consider lightly blocking your finished slippers; even a quick steam or light misting with water, followed by shaping them by hand, can give your project a neat, polished, professional look.
Frequently Asked Questions
What yarn is best for crochet striped baby slippers? Soft cotton or a cotton blend in DK weight offers the best balance of comfort, durability, and easy washing — an important consideration for anything a baby wears regularly.
How long does it take to crochet striped baby slippers? Most beginners can complete a pair in two to four hours, depending on the size of the slipper and how much detail goes into the stripes or extra embellishments.
Can I make crochet striped baby slippers without prior experience? Absolutely — this pattern is built around just two basic stitches, single crochet and slip stitch, making it one of the most approachable projects for first-time crocheters.
How do I keep my stripes looking neat when changing colors? Change your yarn color on the last yarn-over of your final stitch in a round. This small technique creates a clean, seamless transition between colors instead of a visible jump.
Can I make these slippers bigger for toddlers? Yes — simply extend the sizing guide by adding a few more chains to your starting foundation and continuing the increase pattern until the sole matches the toddler’s foot length.
Ready to Start Stitching?
There’s real joy in finishing your first pair of crochet striped baby slippers and seeing those tiny stitches come together into something so sweet. It’s a project that rewards patience without demanding perfection, and the result is a keepsake that feels far more meaningful than anything store-bought. Grab your hook, pick your favorite color combination, and give this pattern a try. When you’re done, snap a photo of your finished slippers and share it — I’d love to see what you create, and it might just be the encouragement another beginner needs to pick up their own hook for the first time.